How to Create 5 Bedroom House Plans Using 3D Software

Create any house plans quickly
Try it virtually and show it in 4K
Be sure everything is flawless
Follow this comprehensive guide that shows how quick and easy it is to start leveraging 3D technology to improve your interior design process, skills, and reputation in this competitive industry.
Designing a 5 bedroom home is no small feat. It requires precision, clarity, and design principles to optimize the space in the best possible way. Using 3D technology to develop detailed blueprints and designs offers a myriad of benefits for interior designers, builders, architects and even homeowners.
The ability to visualize spaces in three dimension offers a level of realism and precision that was previously unimaginable. It also allows for a comprehensive understanding of the spatial dynamics, flow, and proportions of a design, empowering designers to optimize layouts and refine details with unparalleled accuracy.
In the following sections, we delve into the intricacies of 5 bedroom house plans using 3D software, exploring layout considerations, space optimization techniques, and furniture configurations which can all be done using this intuitive technology.
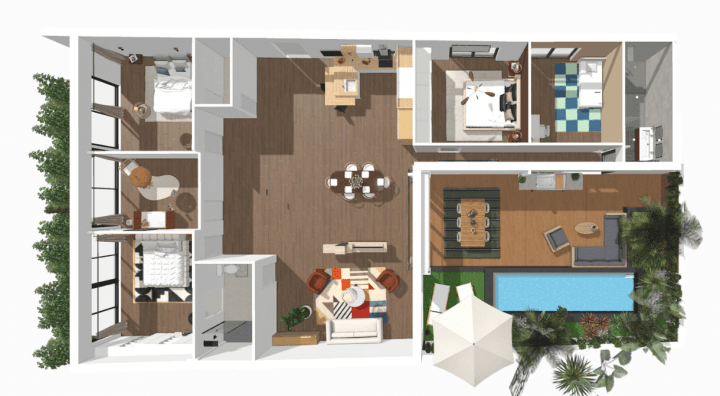
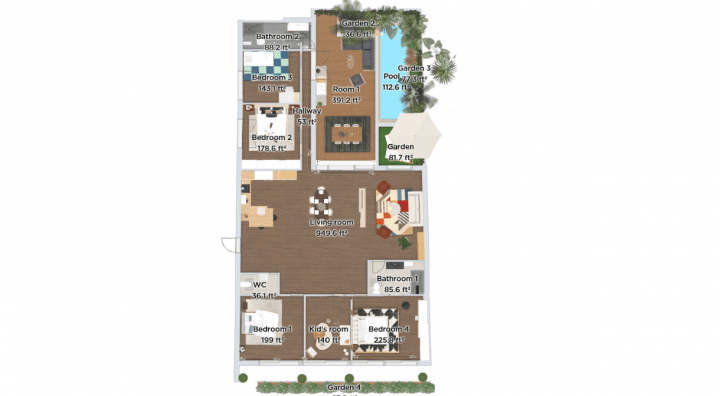
Example of a 5 Bedroom House Plans
Tour it with a simple click!

5 Bedroom 3 Bath House Plans
When designing 5 bedroom 3 bath house plans, it’s essential to consider the overall layout and functionality. Begin by visualizing the flow of the space, considering the locations of each room and their interconnectivity.
With 3D software, you can use it to experiment with all sorts of layouts and styles, and change the floor plans multiple times until you land on the perfect one that meets your client’s needs.
Plans for a 5 Bedroom House: 3 Layouts to Consider
To design efficient and captivating plans for a 5 bedroom house, understanding key design principles is paramount. Below, we explore exemplary layouts that maximize functionality and comfort, providing valuable insights and ideas to inspire your own design endeavors.
Traditional Two-Story Layout
This classic layout features a two-story design that uses space efficiently and provides distinct zones for different activities. On the first floor, you can have a spacious living room, an open kitchen and dining area, a dedicated home office, and a guest suite with a private bathroom.
The second floor can accommodate the remaining bedrooms, including a luxurious master suite with an ensuite bathroom and walk-in closet. This layout allows for privacy and separation of living and sleeping areas, creating a harmonious balance between social and personal spaces.
Ranch-Style Open Concept
The ranch-style layout is characterized by a single-story design that emphasizes a large open concept living space. This layout provides a seamless flow between the kitchen, dining area, and living room, promoting social interaction and a sense of togetherness. In this design, the bedrooms are strategically placed on one side of the house, providing privacy and tranquility.
The master suite is typically situated away from the other bedrooms, offering a peaceful retreat with an ensuite bathroom and ample closet space. This layout is ideal for those who value a spacious and interconnected living area while maintaining a cozy and intimate vibe at the same time.

Multi-Generational Living Layout
In response to the increasing trend of multi-generational living, this layout offers separate and private living spaces within the same house. It can include a self-contained living area, complete with a bedroom, bathroom, living room, and a small kitchenette, allowing for greater independence and privacy for older family members or long-term guests.
The main living area of the house consists of a generous open concept kitchen, dining, and living space, along with additional bedrooms and bathrooms. This layout promotes coexistence in the household while offering distinct living spaces for each generation.
5 Bedroom House Floor Plans
Now let’s delve into the step-by-step process of creating 5 bedroom house floor plans. We’ll be focusing on the HomeByMe 3D floor planner as a specific example of how to use this technology. With these detailed instructions, you’ll be able to navigate the software’s features seamlessly, transforming ideas into a vivid representation of the ideal home.
Step 1. Establish the foundation by constructing a basic floor plan
Create a basic floor plan layout within the software using the “Add wall” feature for a new-build project or the “Add room” option. Alter the room template or size and location of the walls to accurately replicate the layout of the house.
Use the “Build” option in the dropdown menu to add doors, windows, and other essential features like a staircase.
Drag and drop items onto the floor plan to use and modify as needed. Ensure accurate size and proportions are added to reflect the dimensions of the home by editing the measurements next to each wall.
Step 2. Identify and designate the locations of each room
Strategically consider the flow and connectivity to identify and designate where each room will be placed. Deliberate on the ease and convenience of movement between spaces, ensuring that it makes sense throughout the home. To keep track of ideas and layouts, add labels to the blueprint for each room.
Step 3. Carefully select furniture and fixtures, being mindful of scale and function
The extensive HomeByMe library offers a plethora of options, enabling you to curate a design that aligns with your goals and your client’s expectations. To add pieces of furniture or other fixtures, just click, drag and drop.
Move the item around, adjust the size, or copy and paste to reuse it elsewhere in the floor plan. Refer to the “Brand Corner” in the toolbar to search for items based on a brand such as Ralph Lauren or Behr paint.
Step 4. Try Autofurnish to use in the design or to generate ideas
Take advantage of the Autofurnish feature which can be accessed via HomeByMe’s mobile app. This will produce a furnished design based on your selected criteria, offering inspiration and fresh ideas to use in the house plan.
Step 5. Complete the design with paint colors, wall decor, and cozy accessories
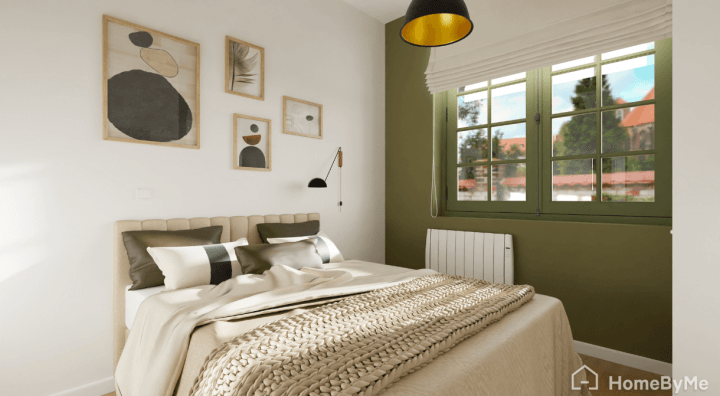
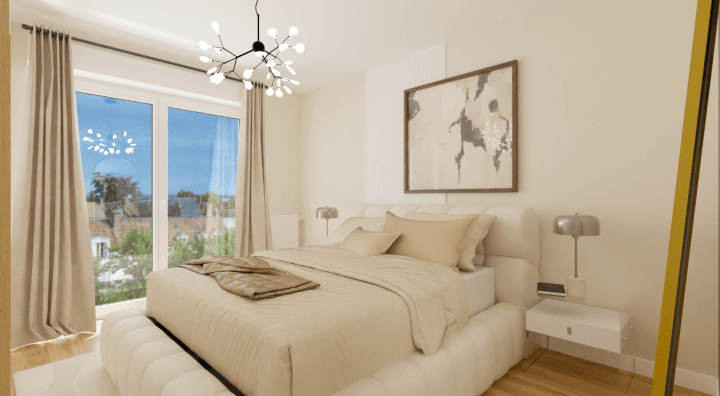
3D floor planners enable users to test out ideas risk-free. So take the opportunity to think outside the box and experiment with different color schemes, decor, textiles, and accessories to infuse personalized touches based on your client.
Select a product you want to use and click the wall or area where you want to apply it. This will create a greater sense of cohesion, connection and belonging once it’s done.
Step 6. Evaluate, refine, and share a 360° virtual tour of the house plan
Take the time to evaluate and refine the design with a virtual walk-through of the 3D model or review the 2D floor plan to identify any potential areas for improvement. Once the 5 bedroom house plan is finalized, you can share it, save it, and print panoramic photos of it.

By utilizing 3D software, you can experiment with different floor plan options, modify room sizes, and explore various furniture arrangements to ensure the optimal use of space.
This enables you to customize the design to create 5 bedroom house plans that perfectly suit the lifestyle and aesthetics of your client – and their family. Sign up today for free!
You may also like...
Create any house plans quickly
Try it virtually and show it in 4K
Be sure everything is flawless
Make flawless Design plans


