How to Create Mountain House Plans with a 3D Floor Planner?
Create a Mountain house design
Try it virtually and show it in 4K
Be sure everything is flawless before launching works
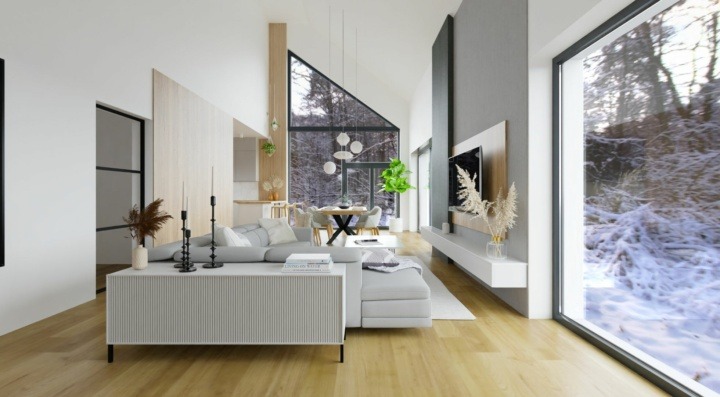
Mountain house plans are meant to feel serene, comfortable, and charming. A 3D home design planner will give you all the tools and features to develop the perfect design to embrace mountainside living to the max.
Modern mountain house plans evolved from the more rudimentary cabin, cottage, and coastal styles that were made to embrace their natural surroundings.
They aim to create bright, airy, and textural spaces that are designed for easy living. Embedded within the mountain home style are lots of cozy textiles, natural materials, weather-worn decor, and lightweight furnishings that reflect the laid-back, natural charm of mountainside living.
Today, many mountain homes combine traditional, rustic features with clean lines that are akin to contemporary design.
If you’re gearing up to develop mountain home plans, we’ll show you why 3D design technology is indispensable for maximizing creative potential and presenting professional floor plans. Read on to learn how simple it is to get on board with this powerful 3D visualization software.
How to Create Plans for Mountain Homes with a 3D Home Design Planner?
3D visualization software enables interior designers to use real-world brands and materials to display designs accurately and in greater detail.
This enables clients to get a genuine depiction and understanding of what their future home could look like. Take a look at some of the processes and features that can be accessed with a 3D planner like HomeByMe, to create plans for mountain homes.
How to use 3D planner to make your plan:
1 Create a Floor Plan with Precise Measurements
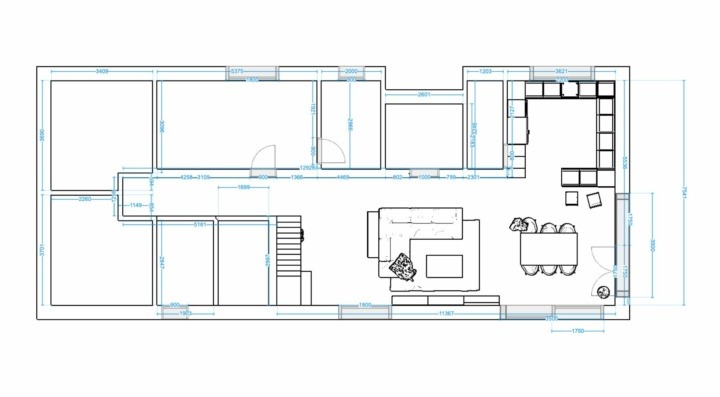
To start, you’ll need to create a technical floor plan or upload one into the planner to work from.
Drawing the layout manually is quick and easy too, even without prior experience. Start by clicking the Floor Plan tab to view the options for drawing walls, adding rooms, or using separators between different areas.
Walls can easily be positioned and connected with precision to reflect the true layout of the property.
Use the measurement tools to add the correct dimensions as you build the floor plan.
Explore other tools for adding depth and details to the outline, including labels and icons.
2 Change the View Mode to customize features
Select a different view mode while developing the design by referring to the view mode options at the bottom of the planner.
Toggle between 2D and 3D to compare and analyze the components. To step inside the property and view it up close from a first-person perspective, click the Footprint tab.
Move around and view the layout by clicking and dragging the cursor in whatever direction you wish to move.
Whether you’re designing a property from the ground up or modifying an existing one, you can customize the structural and architectural components.
Under the Products tab, find a range of choices to utilize. Click Build to assemble the fundamentals like doorways, staircases, plumbing, windows, and more.
3
Add Realistic Brands, Materials, and Décor
One of the main benefits of a 3D design planner is that it allows you to use real-life brands, materials, and other items to develop realistic and immersive environments.
When constructing mountain house plans, refer to the 3D planner’s vast online library with products and materials to add personality and context to your design.
You can also explore designs created by the online community of homeowners and designers.
Use the search filter to find an array of certain styles, textures, and materials to play around with.
4 Adjust the Lighting & Set the Scene and Atmosphere
Using improper lighting can easily throw off your design, making it appear unnatural or awkward.
Luckily, in the 3D planner, you can make adjustments to the artificial lighting within the property to accurately mirror what you want.
Experiment to find the perfect setting for enhancing not only the light, but also the shadows and dimensions to make your rendering appear more realistic.
To create an immersive design that mirrors the real world, set the scene and atmosphere.
Choose from a range of different backgrounds and moods to show how the property will appear on a bright and sunny day or at sunset.
Experiment with colorimetry to heighten the warmth or cool down the ambient lighting.
5 Choose Different Camera Angles or Create Your Own
When you’re ready for clients to view and critique the design, share and save different angles of the layout to impact how your clients will perceive it.
Choose from multiple options such as eye-level, high-angle, or create your own.
Renderings can also be experienced using immersive tours.
Key Elements in Modern Mountain House Plans
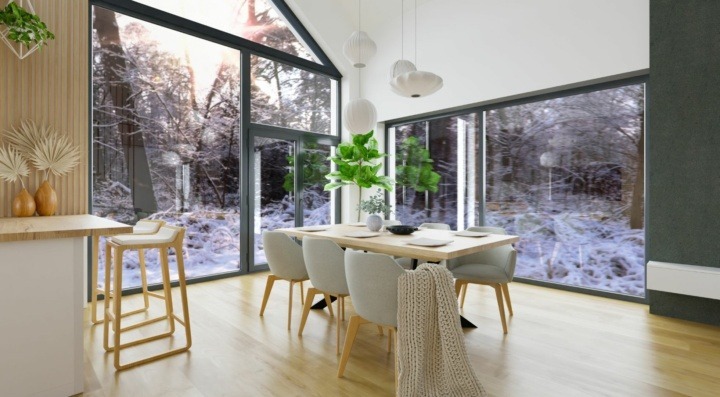
Modern mountain house plans feature sharp, clean angles, cool and chalky neutrals, natural timbers, stone, and oversized windows to relish the view.
They typically boast an open concept with a large great room or family living room with a fireplace to anchor and cozy up the space.
Accent colors draw inspiration from the natural landscape, such as sky blue, oyster, duck egg, seafoam greens, and tans.
For flooring options, lean into natural light wood, painted floorboards, or concrete. These can be softened by using organic textiles like jute, seagrass, or worn cotton.
Rustic Mountain House Plans
Not sure how to translate ideas into a tangible floor plan? Check out these examples of rustic mountain house plans to guide you.
2 Story Mountain House Plan: 3 Bed, 2 Bath with Loft
Set on a 1300 square foot lot, this layout offers the perfect setting to indulge in mountain-style living. Beyond the front entrance, the great room and a shared dining and kitchen area are set directly ahead with a wide open concept.
A loft-style balcony can also be seen as you walk in. Generously size windows offer unobstructed views and keep the space breezy and bright.
The master bedroom also shares the main level, set towards the back of the property with an adjacent bathroom and walk-in closet. A staircase is tucked between the master bed and great room, leading to the second floor with an open loft landing, two additional bedrooms, and a bathroom.
Vaulted ceilings, a focal fireplace, and a covered front porch enhance this house plan, delivering a cozy, luxurious setting to call home.
2 Story, 1 Bed, 1 Bath, with Bonus Room
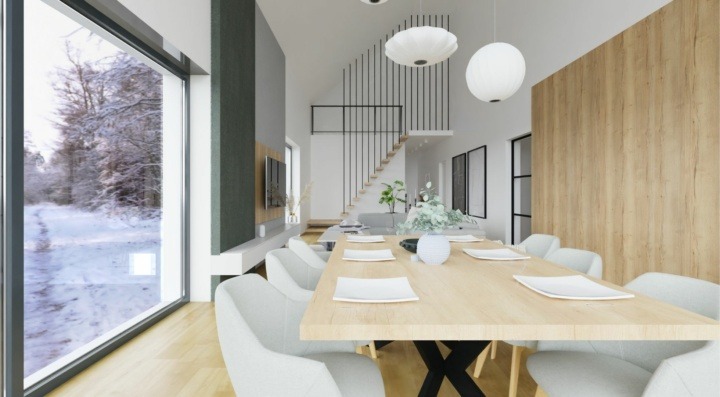
Consider this 2 story floor plan with a sharp, gabled roof for a modern twist. Windows cover the front and sides for wall-to-wall views. Inside, a large family room is placed to the right of the entrance.
A U-shaped kitchen and breakfast bar are connected towards the back of the layout. Meanwhile, the main bedroom is located on the front left side of the home.
A large walk-in closet and bathroom are set in the back corner, accessible from the hallway. A stairway is tucked behind the kitchen, leading to a bonus loft room that can be used as a home office or art studio.
2 Story, 3 Bed, 2.5 Bath
Here’s an example of an efficient design that makes great use of a narrow lot, with all bedrooms set on the upper level. With under 1400 square feet, this layout includes a large front foyer that’s ideal for keeping out the cold.
The entrance is set just off of the dining area which branches into the living room on the left and the kitchen at the rear, which includes a large prep island. A covered patio is accessible from the dining room and opens into an L-shaped deck.
A large full bath is in the back left corner. Meanwhile, all three bedrooms are tucked upstairs for privacy – two are side by side with a half bath between. The master suite is set on the opposite side with its own private ensuite.
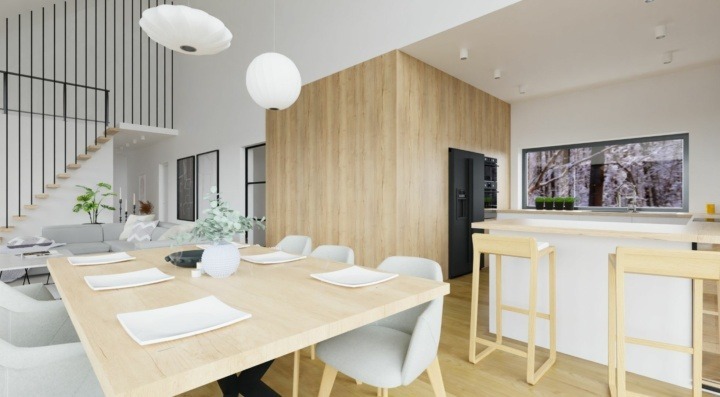
3D home design planners like HomeByMe provide an immense range of features, materials, and potential when it comes to producing professional floor plans and complex designs. If you want to keep up in this competitive field, try it today to see how much it can improve and elevate your work.
You may also like...
Create a Mountain house design
Try it virtually and show it in 4K
Be sure everything is flawless before launching works
Make flawless Design plans


