How to Design a Small Home in No Time with 3D Software?
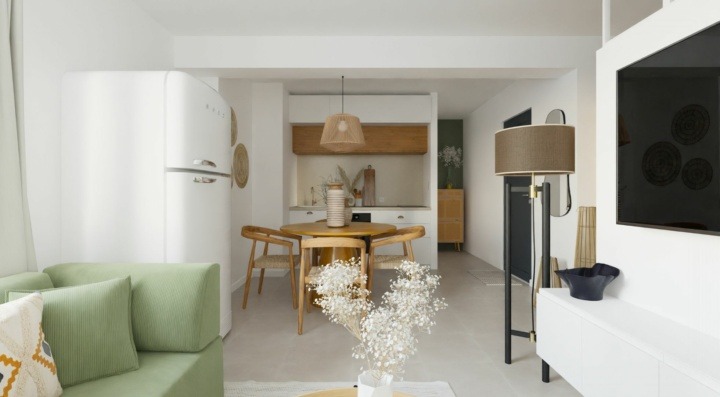
Create a small home in no time
Try it virtually and show it in 4K
Be sure everything is flawless before launching works
Planning a small home design project? Transform any small space with 3D modeling software that can show you exactly where, how, and what to use to make the most out of every inch of space.
Feeling stuck or frustrated about a small home design project? Having the right tools and techniques can make all the difference in turning this seemingly challenging task into a fun and rewarding experience.
3D modeling software has revolutionized the way we approach home design, providing a powerful tool for both professionals and homeowners alike. It offers a level of detail that makes the planning, design, and decision processes quick and efficient so you can get things done on time and on budget.
Experiment with materials, finishes, lighting, furnishings, and more with the click of a button. Then tour and share it with clients via virtual walkthroughs so they can see how it will look and feel before giving the green light to move forward.
Below, we explore the benefits of using 3D software for small home designs and provide some tips for getting the most out of this powerful tool.
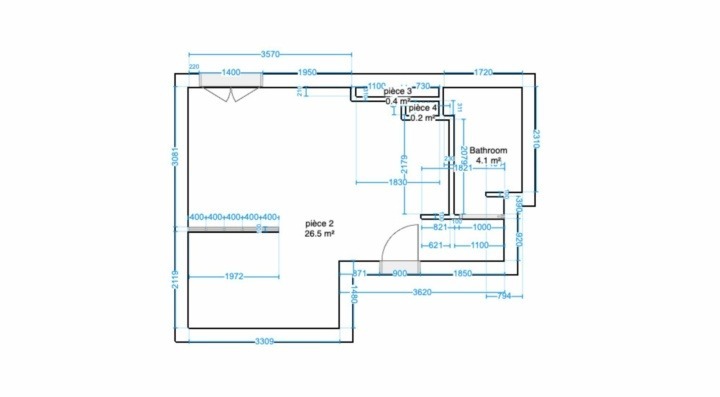
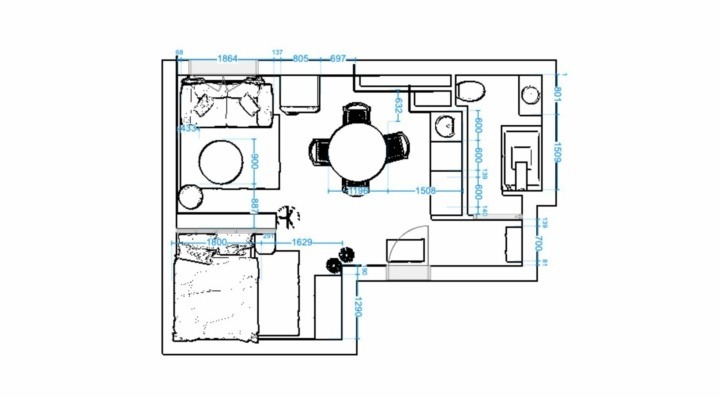
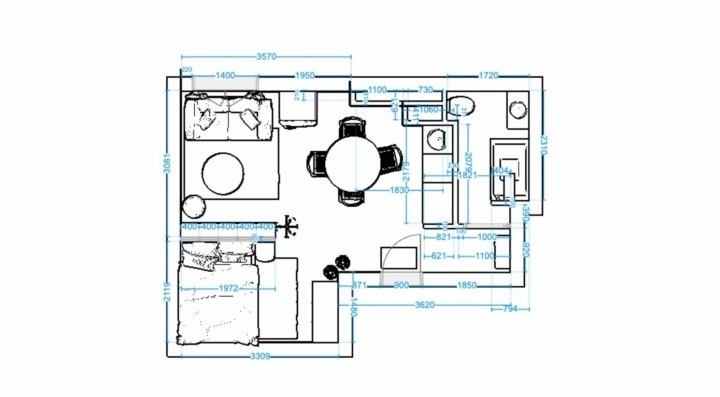
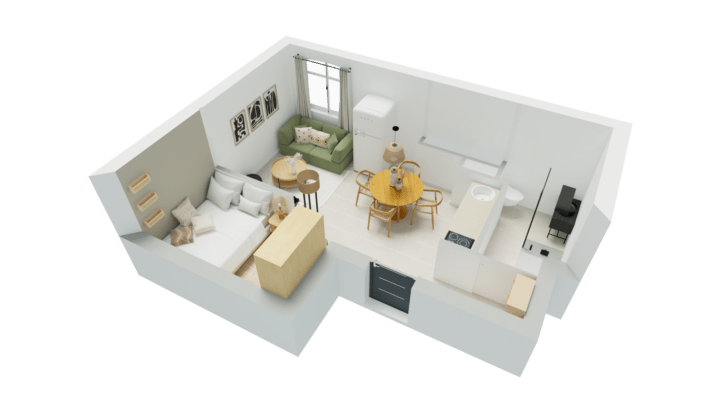
Generate detailed plans in 2D and 3D
Why Use 3D Modeling Software to Make Small Home Plans?
One of the key benefits of using 3D modeling software is the ability to visualize your design with realistic imagery, products, and materials. This allows you to see how different elements of your design fit together without having to guess.
Another advantage is the ability to perform trial and error easily, instantly, and without the need to remake blueprints. Since it’s all done digitally, you can change or redesign an entire home in no time using drag-and-drop technology. With a simple click, you can add or remove walls, change the layout of a room, or experiment with different decor and color schemes.
This level of flexibility and experimentation is crucial for unleashing creative ideas when designing small home plans where every inch of space counts.
Tips for Building a Small Home Design Using 3D Software
Here are some quick tips to remember for building a small home design in 3D.
Keep it Simple
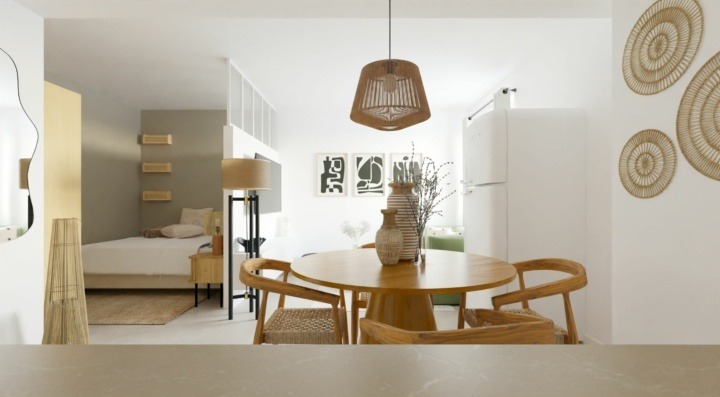
When designing a small home, it’s important to keep things simple. Stick to clean lines, minimalist decor, and a neutral color palette to create a sense of spaciousness. Avoid clutter and unnecessary decoration, as this will only make the space feel smaller.
Prioritize Functionality
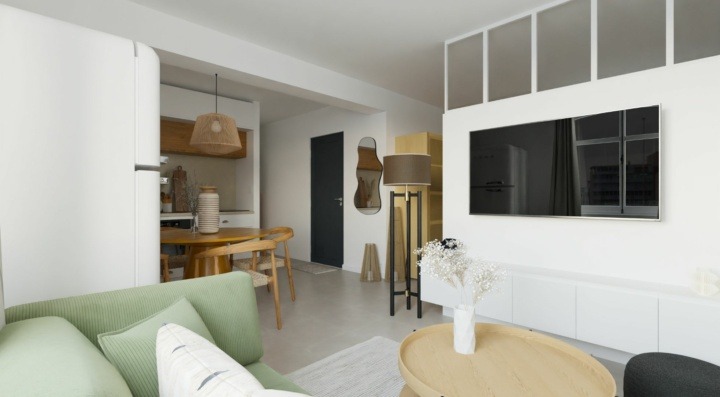
In a small home, every morsel of space counts. Prioritize functionality by including ample storage, choosing multi-functional furniture, and designing a layout that flows smoothly from one space to the next. Use your 3D home planner to experiment with different layouts until you find one that works best for the client’s needs.
Think Vertically
When designing a small home, remember to think vertically. Use high ceilings, tall shelves, and lofts to maximize the use of space. This can provide more storage options and also add visual interest to make the home look bigger.
Experiment with Natural Light
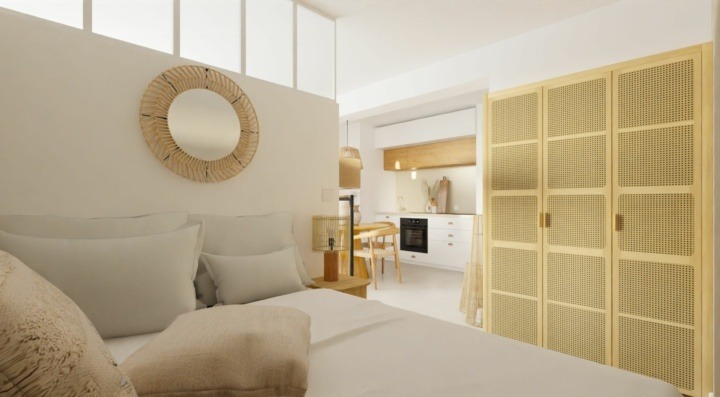
Natural light is a powerful element when designing a small home. Use your 3D modeling software to test out different window sizes, designs, and placements to increase the amount of natural light in the home.
Focus on Quality
Focus on quality when selecting finishes and materials, as this will have a significant impact on the overall look and feel of the home. Play around with multiple finishes, textures, and materials to see what can elevate the design.
How to Use 3D Software for Small Home Designs?
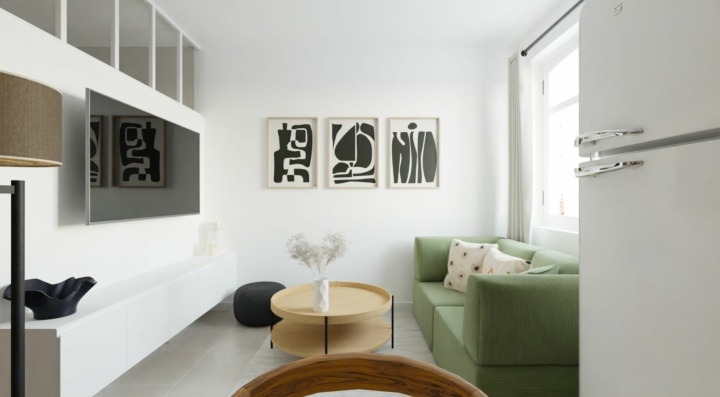
HomeByMe is a powerful 3D modeling software that provides an intuitive and user-friendly platform for small home design. With this 3D tool, you can experiment with lots of different features, concepts, and ideas to create an ideal match for clients.
Here’s how to start using it:
1 Use the toolbar on the top of the dashboard and select “Build” to create a floor plan
Once you’ve launched your first project, begin by creating a floor plan for your small home design.
To insert and connect walls, click “Add Walls”, and customize them to reflect the layout of the property.
To use room shapes, click “Add Rooms” and adjust the size and shapes as needed.
2 Insert windows, doorways, and edit the dimensions of each to maintain accuracy
While building the “bones” of the floor plan, edit the dimensions for each wall. Do the same as you add other structural features like doors and windows.
To insert and experiment with different doors and window designs, click on the “Build” tab to see the options for exterior and interior doors, sliding windows, patios doors, staircases, and more.
Click and drag any feature that you want to use in the floor plan.
3 Assemble your design in 3D by using the “Furnish” tab
When the 2D floor plan is done, start building the design in 3D. Click on the 3D view mode and then navigate to the “Furnish” tab.
You’ll find options for each room, including the living room, bathroom, kitchen, bedrooms, dining, and more.
Find the room you want to start with to begin exploring products and materials to use in your design.
Use the filter option to find specific items based on a brand, color, or material.
4 Click “Decorate” to accessorize the interior with products and decor
To add finishing touches, click on “Decorate” under the Products tab. Choose paint and wallpaper, tiles and stone, flooring, and accessories.
When you see a product you like, click on it to insert it. Use your cursor to move the item around and put it in place.
A pop-up bar will offer options to duplicate, replace, measure, or delete the item.
For features such as lamps, you can choose to switch them on to see how the lighting works for the chosen area.
Explore color palettes and style filters to make the design more visually appealing or refer to the Brand Corner to see all the brand-name products available.
5 Explore the floor plan virtually with a 360° tour and then save, print and share
Take a virtual tour to get a genuine impression of the design by clicking on the footprints located at the bottom of the dashboard, next to the 2D and 3D tabs.
Use your cursor to move around, inspect certain items, and view the spacing and flow.
Clients can also take a virtual tour once you share a link. When complete, save and print realistic, high-definition images of the design to use at a later time or to add to a portfolio.

Embracing 3D technology in small home designs is no longer a luxury but a necessity. Home design software like HomeByMe, allows interior designers and builders to transcend the limitations of traditional design methods, enabling efficient use of space while enhancing our living experiences.
By harnessing the power of 3D software, you can unlock the full potential of each property to create harmonious, functional, and aesthetically pleasing interiors that truly reflect the lifestyle and aspirations of your clients. Try it today for free!
You may also like...
Create a small home in no time
Try it virtually and show it in 4K
Be sure everything is flawless before launching works
Make flawless Design plans

