How to draw 3D floor plans?

An immersive design experience
Create your virtual house in 3 easy steps
Visualize your 3D floor plans from all angles
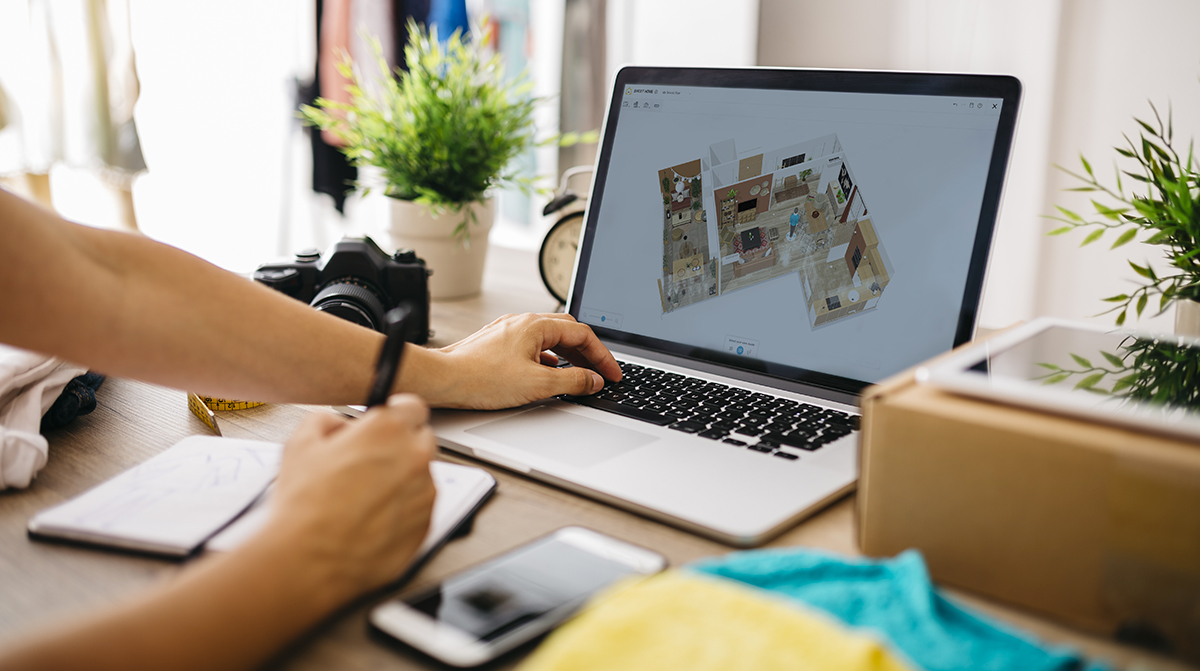
Home remodeling is not only for experts. Actually, learning how to draw 3D floor plans can be easy! Learn more about it with HomeByMe.
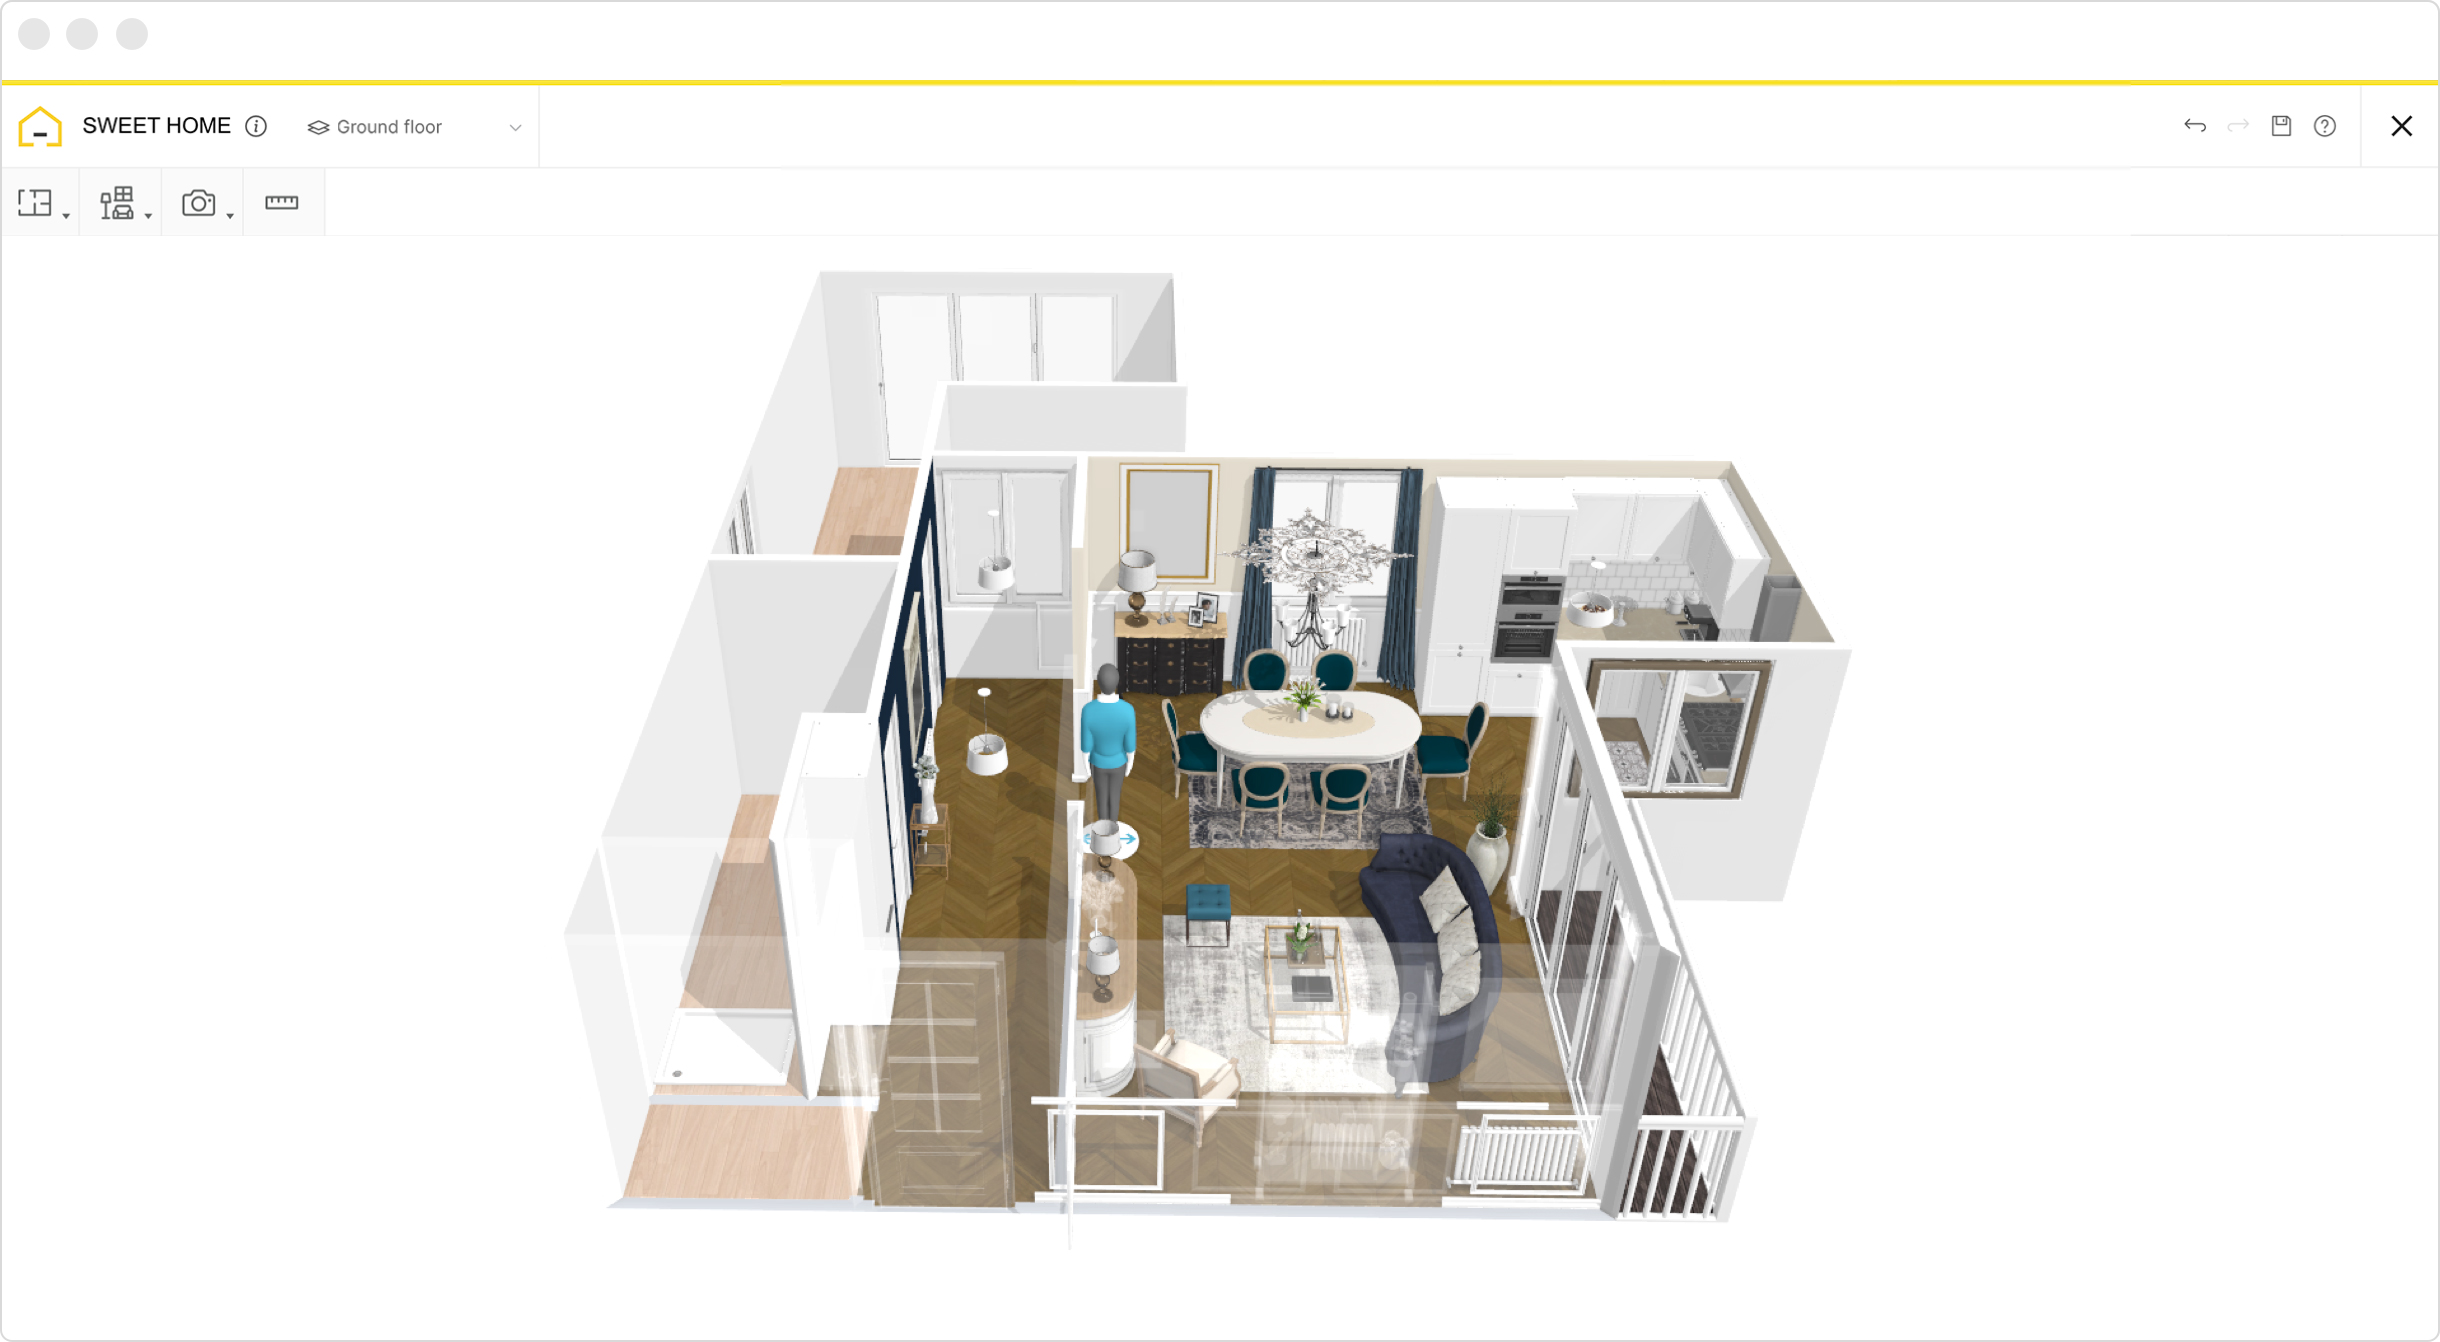
3D floor plans illustrate the outline and layout of a property in a realistic, 3D perspective. Different to a 2D floor plan, 3D floor plans include depth and are capable of changing the angle in which you can view the design; either from above, from an angle, or from the side.
3D floor plans include furniture and furnishings, floor textures and wall coverings as well as windows and doors. They give an accurate idea of how a certain piece of furniture would fit in a room and whether it would allow for proper circulation. HomeByMe free planner are ideal for home renovations and furnishing a new home or office. HomeByMe enables you to draw premium-quality 3D floor plans for personal or professional use including real estate listings, interior design projects and office planning.
Create online 3D floor plans
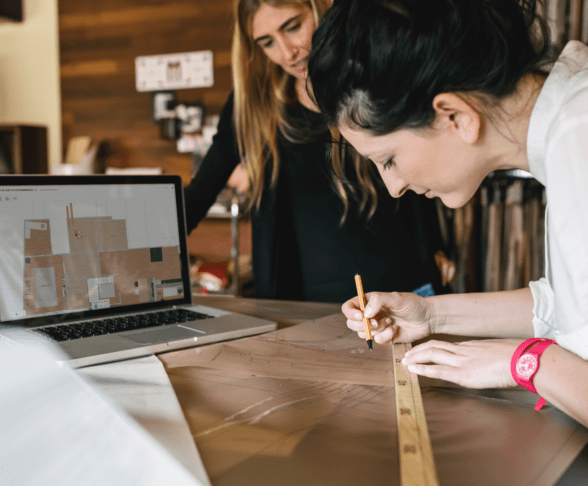
It’s never been easier to make your own premium quality 3D floor plans! Save money by creating your own 3D floor plans instead of seeking professional services. If you are lacking time, HomeByMe offers floor plan creation services at a very affordable price.
Creating high quality 3D floor plans has never been easier. Once you have drawn the outline of your layout in 2D, consisting of the walls, windows and doors, you can check and furnish your floor plan in 3D. Our powerful 3D technology creates realistic 3D rendering in moments, allowing you to envisage your future house from all angles and zoom in and out to see the details.
HomeByMe is highly intuitive to use. Choose and arrange furniture in your 3D floor plan by inserting products from our extensive catalog and dragging them into place. Select from brand-name retail products or generic products that can be customized to suit your floor plan design. Take measurements of your 3D floor plan using the ruler tool and check surface areas in an instant.
Create premium quality 3D floor plans which can be used online or printed. Our free software give an accurate representation of how a room could look after a renovation or interior decoration and allows you to project yourself in your new space instantly.
Viewing your 3D floor plans
View your HomeByMe 3D floor plans from any angle and take a screenshot of it. Simply choose the 3D viewing mode, drag the project into the preferred angle and click screenshot. You can adjust the viewing angle and rotate it until you’re happy with the image and click to confirm.

Depending on the intended purpose of your 3D floor plan, you can visualize your home from any angle to get a better view of the layout, furniture, flooring or surrounding outdoor areas. Viewing your 3D floor plan from an elevated angle shows details, such as fixtures and furnishings, more clearly. Drag to rotate your plans in any direction to achieve the perfect elevation and angle to best show off your design.

Home remodelling projects and real estate advertising are often best seen from a bird’s eye view, while home decoration projects are best visualized from an angle.
To really immerse yourself in your 3D floor plan, try creating a 360° image, which can be viewed on your computer, smartphone or tablet. 360° images enable you to visualize your design from any angle. Zoom in and rotate to see the room as if you were really standing there. This can be particularly useful for validating your design choices before starting construction or any purchases. Once you’ve ordered and created your 360° image, you’ll receive it by email, so you can easily send it to friends, family or partners.

HomeByMe 3D floor plans can be customized to suit your design needs and duplicated in order to test a variety of room layouts. Visit our Inspiration page to find 3D floor plan inspiration from our community and even use an existing floor plan to get started!
How to create your 3D Floor Plans
1 Create a free account
To get started, you can sign up for a free account on a computer or mobile device. Then once logged in, follow the steps outlined for setting up your first project.
2 Draw your Floor Plan Outline
Draw your floor plan outline with ease, using the HomeByMe design software. Include outdoor details such as stairways, garden paths, patio areas and fences. Define the indoor floor plan, including the room layout and add doors and windows.
3 Furnish your Floor Plan
Choose furnishings for your home and garden from our extensive product catalog, which offers a variety of flooring materials, indoor and outdoor furniture, plants and accessories. Add features such as a swimming pool and an outdoor cabana to complete your design.
4 Create HD images and share your project
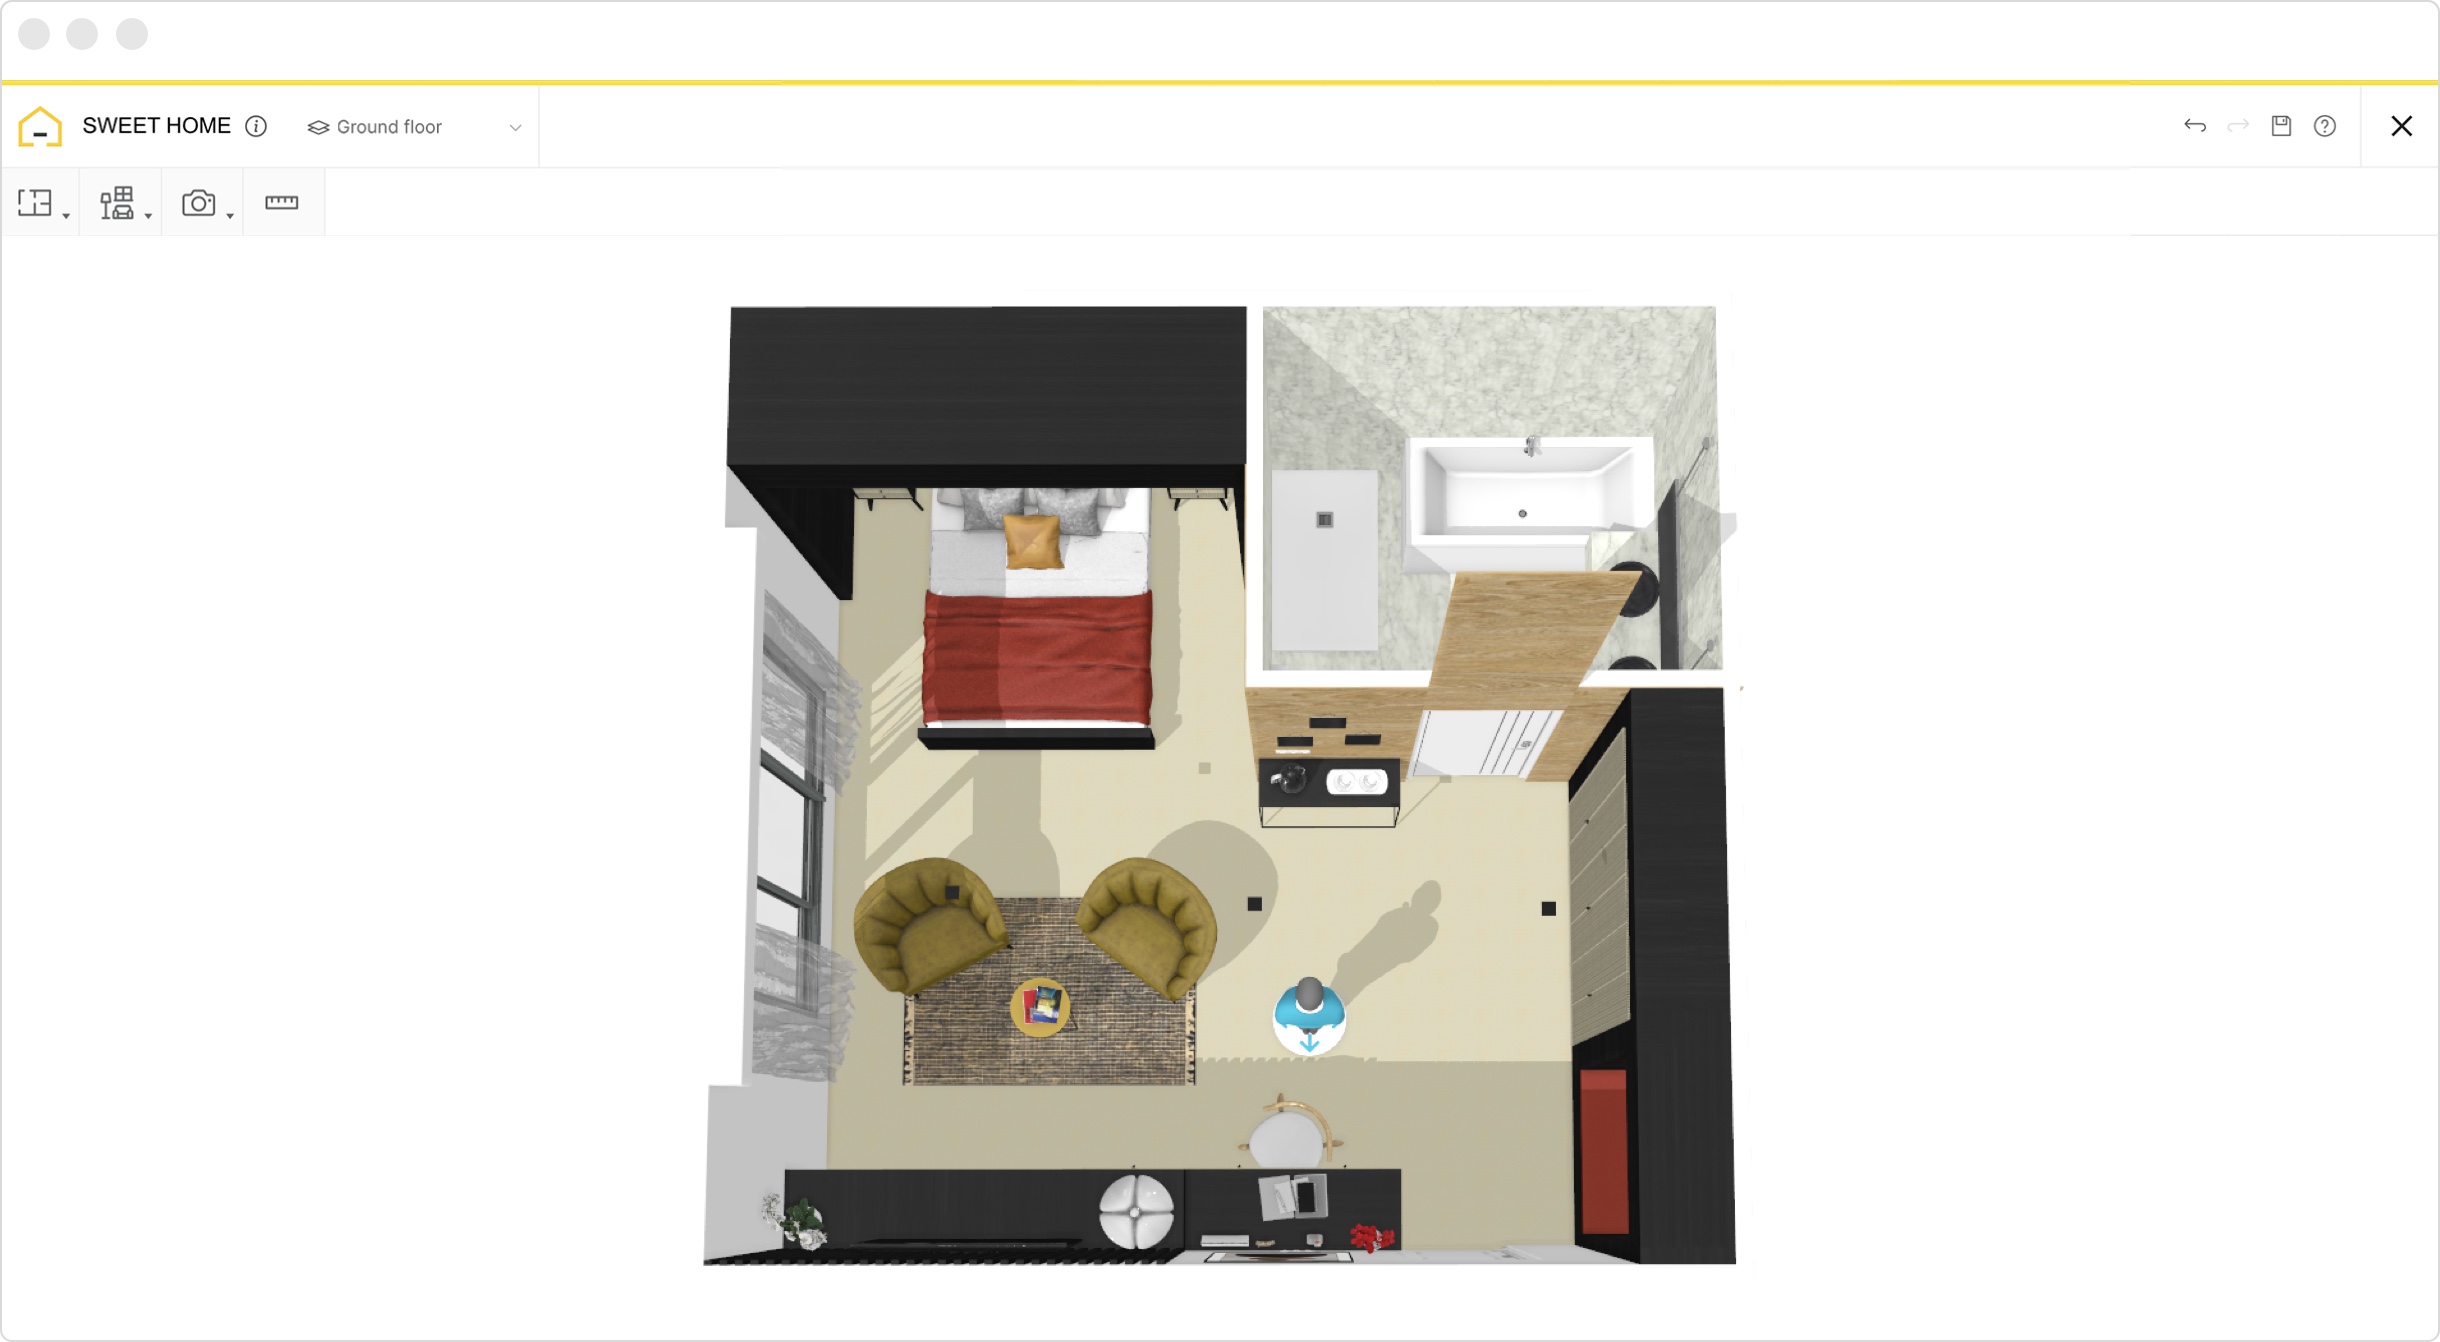
Concieve high-quality 3D rendered images of your floor plan to show off your design. You can also capture 2D views, which display measurements and surface areas, and can be useful when ordering building supplies. Send images and 360º views of your project with family and friends to gather feedback.
HomeByMe 3D Floor Plan examples
Bathroom Floor Plan
Whether you prefer a bright white bathroom or more sombre tones, the bathroom tiling of your dreams is in our product catalog.

Living Room Floor Plan
Experiment with the layout to optimize your space and create your desired atmosphere.

Bedroom Floor Plan
Try out different interior design themes in your bedroom to find the style that best fits your personality.

Visit our Inspiration page for examples of 3D floor plans, which you can even duplicate to get started and then adjust to suit your design needs!
You may also like...
An immersive design experience
Create your virtual house in 3 easy steps
Visualize your 3D floor plans from all angles
Need a helping hand?
Give us your plan and our team will create your 3D project. Then you’ll only have the fun part left: decorate your house!

Create your 3D floor plan!


